
One Year of DIY Beauty Treatments: Was the Effort Worth It?
- The Initial Migration: Identifying the DIY Candidates
- Performance Review: Category by Category
- 1. Nails: The Unexpected Triumph
- 2. Hair Maintenance: A Study in Conservative Caution
- 3. Brows: Precision vs. Pain
- 4. Body Hair Removal: Waxing Woes
- The True Costs: Beyond the Price Tag
- Financial Ledger: The Savings Snapshot
- The Time Cost: The Beauty Grind
- The Mental Shift: Self-Perception and Patience
- Conclusion: Was One Year of DIY Beauty Worth the Effort?
I DIY’d My Beauty Treatments for a Year: Was It Worth It?
The siren call of the beauty salon is strong. That blissful hour under the dryer, the meticulous precision of a professional facial, the satisfaction of perfectly shaped brows—it all comes at a cost, both in time and significant capital. For years, I outsourced my self-care maintenance: bi-weekly manicures, semi-annual haircuts, regular waxing appointments. But a year ago, fueled by a blend of financial mindfulness and sheer curiosity, I decided to take the plunge. I was going fully DIY on nearly all my personal beauty upkeep for 365 days.
This wasn’t just about saving money; it was an experiment in self-reliance, a test of my dexterity, and a deep dive into the beauty industry from the consumer’s workbench. From manicures to root touch-ups, here is the unvarnished truth about spending a year as my own primary beauty technician.
The Initial Migration: Identifying the DIY Candidates

The first step was strategic planning. I couldn’t realistically take on everything. Surgery and high-risk procedures (like laser treatments) were immediately off the table. The focus was on maintenance tasks that typically require frequent, often expensive, upkeep.
My initial list of DIY candidates included:
- Nails: Manicures and pedicures.
- Hair: Trims (dusting ends), fringe maintenance, and root touch-ups for my natural color.
- Eyebrows: Shaping and tinting.
- Body Hair: Shaving and occasional waxing (using at-home kits).
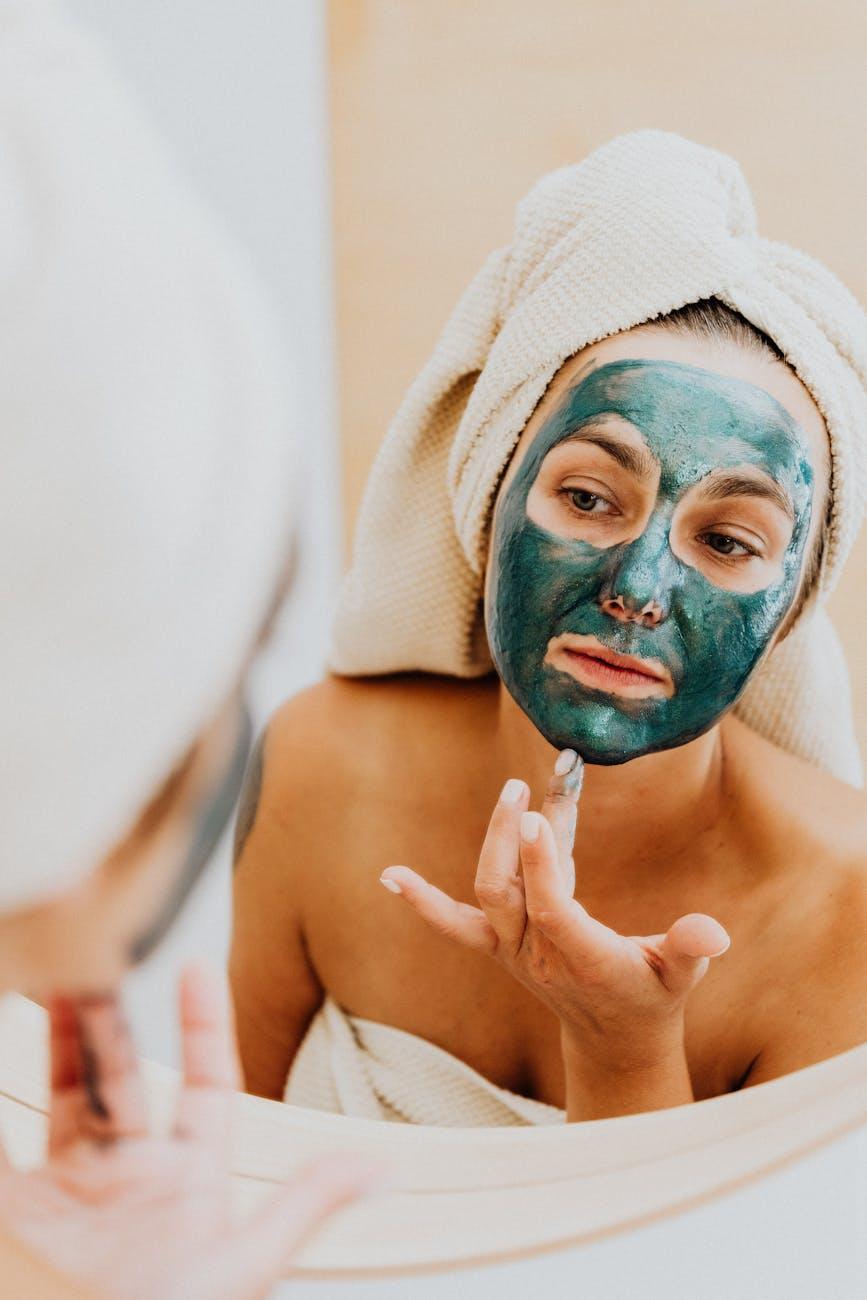
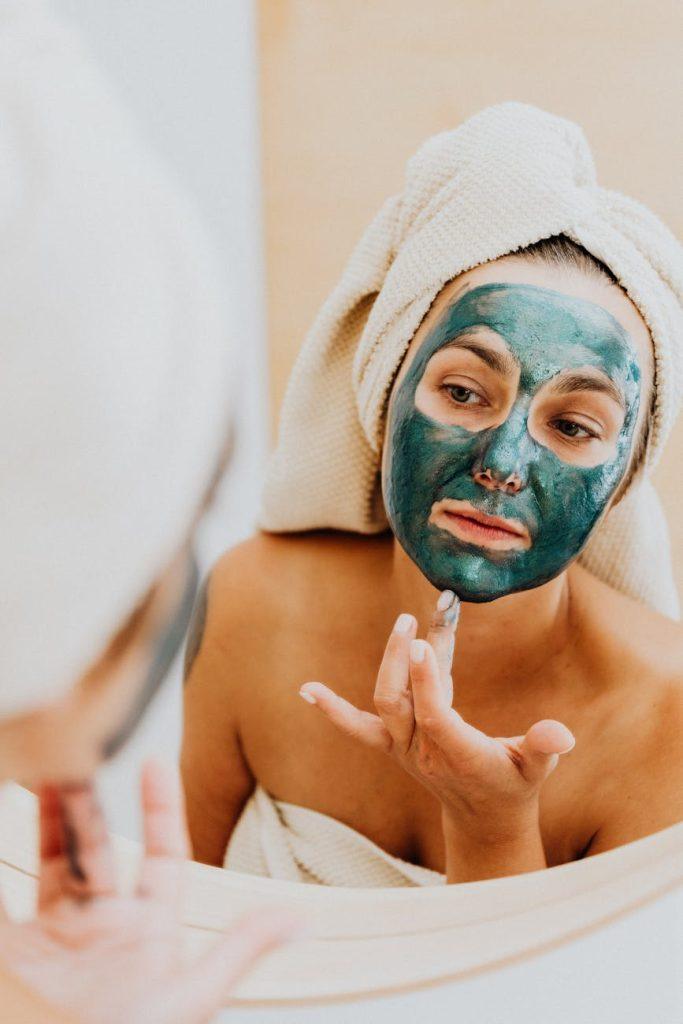
- Skincare: Cleansing, moisturizing, and masking routines (I already did most of this, but I committed to eliminating professional facials).
The biggest upfront hurdle was accumulating the necessary tools. While I saved money on services, I had to invest in quality equipment—good clippers, durable wax strips, professional-grade hair dye, and high-quality base and top coats.
Performance Review: Category by Category
The success rate varied wildly depending on the task. Some elements proved surprisingly empowering, while others were humbling reminders of why professionals exist.
1. Nails: The Unexpected Triumph
This category was, without a doubt, the most successful transformation. Before, I visited the salon every two weeks for gel manicures, costing me around $60 per visit plus tip.
The Reality of DIY Nails:
- Initial Investment: High-quality lamps, professional polishes, and acetone were necessary purchases.
- Skill Acquisition Curve: The first few weeks were messy. My cuticles looked like a crime scene. However, after about two months of consistent practice, my technique smoothed out considerably. My free edge became cleaner, and my polish application was much neater.
- The Gel Dilemma: I exclusively switched to “soak-off” gel manicures done at home. This saved immense money but required dedicated time (about 90 minutes per session) for removal and reapplication.
Verdict: Worth every minute spent practicing. My nails looked better long-term because I wasn’t constantly exposing them to the harsh filing associated with salon gel removal.
2. Hair Maintenance: A Study in Conservative Caution
Hair is arguably the riskiest DIY zone. Going too short or applying color unevenly can lead to weeks of regret.
Root Touch-Ups: This was manageable. Since I only touch up about an inch of virgin growth every six weeks, the process was straightforward, particularly using color kits designed for home application. I focused on blending and used color deposition masks between full applications to keep my ends from fading into a brassy mess.
Trims: This is where I had to institute a hard rule: Do not perform blunt cuts on yourself. I limited myself strictly to “dusting” my ends—snipping off the very tips while my hair was dry, using the ponytail method (or “U-cut” variation) to ensure symmetry. For any actual shaping or layering, I held off or booked a very simple, cheap dry cut once every six months just to get a professional assessment of shape.
Verdict: Root touch-ups are fine. Attempting a full haircut is terrifying and best avoided unless you have significant prior training or are happy living with slight asymmetry.
3. Brows: Precision vs. Pain
Eyebrows are the frame of the face. Messing them up is highly visible. I decided to tackle shaping using tweezers and maintenance using home tinting kits.
Shaping: Shaping required meticulous, slow work. I used the “three-point mapping” method I watched online, measuring from the nose, eye, and corner of the mouth. It took three times as long as a salon appointment, but the results were surprisingly good—precise, if slightly over-plucked in the first month before I adjusted my technique.
Tinting: Home brow tinting kits are highly effective. They require careful mixing and quick application, but they deliver the same darkening effect as a professional service for a fraction of the cost.
Verdict: A worthwhile endeavor, provided you step back frequently to assess symmetry in a well-lit mirror. It taught me the exact shape that works best for my face.
4. Body Hair Removal: Waxing Woes
I had always relied on professional waxing, which is expensive but provides smooth results for weeks. Transitioning to at-home hot wax kits or hard wax beads was an exercise in humility.
The Experience:
- The Learning Curve: Maintaining the correct temperature and technique for pulling the wax strip is difficult when you are working on your own back or legs.
- Hysteria: I quickly realized that the area with the most painful hair removal (my bikini line) was completely impossible to manage solo safely or effectively.
- Stubble Returns: The results lasted about half as long as professional waxing, probably due to my inability to pull the strip perfectly parallel to the skin.
Verdict: A definite failure for sensitive, difficult areas. I reverted to high-quality shaving for the majority of the year, accepting the razor burn trade-off over the botched waxing attempts.
The True Costs: Beyond the Price Tag
While the financial savings were significant, the hidden costs of the DIY year weren’t immediately obvious.
Financial Ledger: The Savings Snapshot
Assuming I spent $150 per month on average at the salon (covering nails, brows, and a haircut every 10 weeks), the annual savings were approximately $1,800. My investment in supplies (high-quality hair dye, polish kits, wax, tweezers) totaled about $350 for the year.
Net Financial Gain: Over $1,400 saved. This was a huge success metric.
The Time Cost: The Beauty Grind
The single greatest unexpected drain was time committed to maintenance.
A salon visit frees up time because someone else is doing the work. At home, the work became integrated into my schedule. Removing gel polish might take 45 minutes on a Sunday night, followed by an hour-long manicure session. Adding in the time spent researching techniques, watching tutorials, and cleaning equipment meant I spent significantly more focused, active time “doing” my beauty regiments.
I quickly learned that DIY beauty is not about saving time; it’s about trading money for labor.
The Mental Shift: Self-Perception and Patience
Perhaps the most profound change was mental. Before, I relied on the professional appointment as a scheduled moment of pampering—a forced downtime. When I did it myself, the pressure to perform well was high, but the reward was also different.
When I successfully executed a flawless home gel manicure, there was a genuine surge of pride. I felt more connected to the maintenance of my appearance, realizing just how much active effort it takes to “look done.” This fostered a greater appreciation for the skill level of the technicians I had previously paid.
Conclusion: Was One Year of DIY Beauty Worth the Effort?
Yes, but with significant caveats.
For tasks requiring minimal precision and high frequency (nails and root touch-ups), the DIY route was an undeniable financial win and a surprising boost to my practical skills. I emerged from the year with better nail health and a deeper understanding of what high-quality products look like.
However, for areas requiring high precision, difficult angles, or specialized tools (complex haircuts, advanced shaping, lower body waxing), the DIY attempt was inefficient, frustrating, and sometimes disastrous.
The ultimate takeaway is that the DIY beauty movement isn’t about completely replacing professionals; it’s about discerning which elements of your routine you can confidently take over. I will keep my DIY nail station permanently set up, but I will happily book appointments for anything that requires a steady hand I don’t inherently possess—like a layered haircut or a professional brow wax every six months for shape insurance. The experiment proved that while I can do it myself, sometimes, the luxury of paying an expert to do it flawlessly is worth the investment.